Is your old desktop PC holding you back? After years of using a second-generation Intel Core i5 system with limited RAM, we finally decided it was time for an upgrade. Instead of spending hours researching compatible components and shopping across multiple stores, we opted for the PCBuilder Level Up Core Upgrade Kit, and the results were impressive.
This article will walk you through the entire PC upgrade process, discuss the hardware included in the kit, and explain why pre-configured upgrade bundles are becoming one of the easiest ways to modernize an aging computer.
Why We Needed to Upgrade Our Old PC
Earlier this year, we upgraded our desktop’s case to a sleek new Antec chassis. While the new case dramatically improved the appearance of our setup, it quickly exposed a bigger problem: the hardware inside was seriously outdated.
Our system was running:
- Intel Core i5 2nd Generation processor
- 8GB RAM
- Legacy office PC hardware
- Limited multitasking performance
For basic tasks, it worked reasonably well. But once we started opening multiple browser tabs, editing content, and juggling productivity applications, the system began to struggle. That’s when we decided to perform a complete platform upgrade.
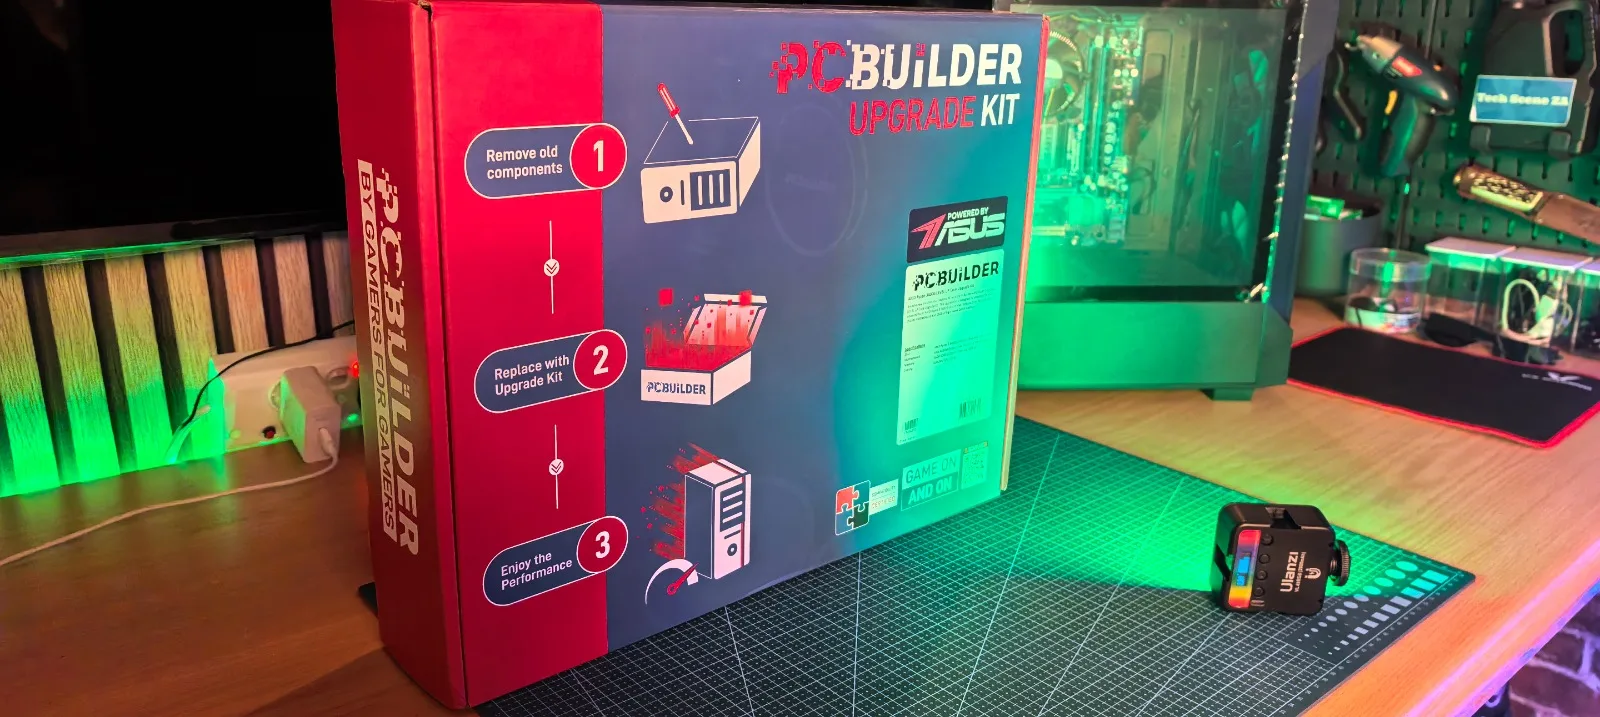
The PCBuilder Level Up Core Upgrade Kit
One of the biggest challenges when building or upgrading a PC is ensuring compatibility between components. The PCBuilder Level Up Core Upgrade Kit eliminates that problem by bundling everything together in a pre-tested package.
What’s Included?
The kit arrived with:
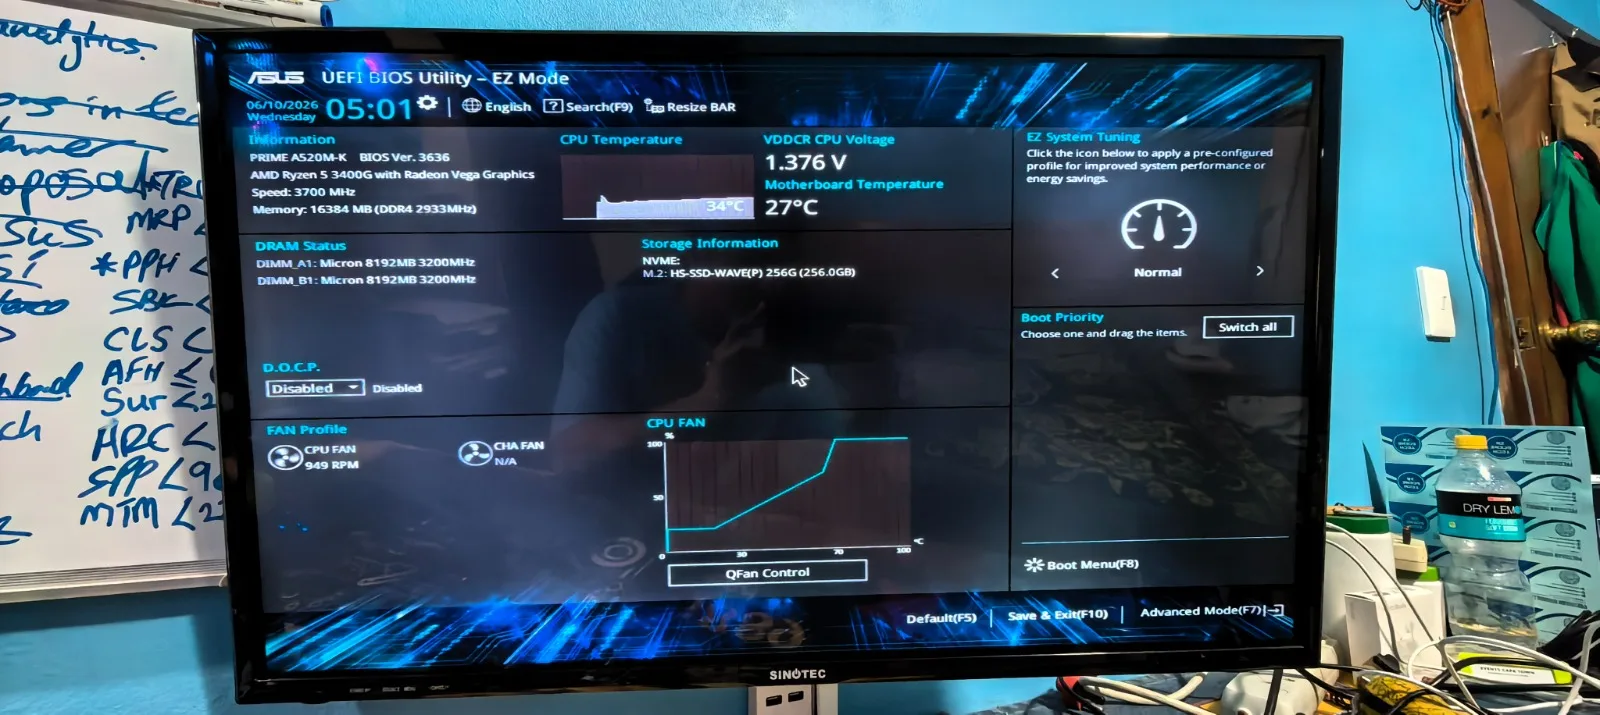
- AMD Ryzen 5 3400G Processor
- ASUS Prime A520M-K Motherboard
- 16GB DDR4 3200MHz RAM (2x8GB)
- AMD Stock CPU Cooler
- I/O Shield
- Documentation and accessories
The best part? The CPU and RAM were already installed on the motherboard. This significantly reduces the risk of damaging delicate CPU pins or incorrectly installing memory modules, making it ideal for first-time PC builders. Additionally the full warranty is included for all components which makes it so much better than having different warranty dates on your purchased components.
Why Upgrade Kits Make Sense
After researching individual component prices, we discovered something interesting. To match the price of this upgrade kit, we would have needed to purchase components from multiple online stores and wait for separate deliveries. The upgrade bundle simplified the entire process by:
Saving Time
No need to compare dozens of component combinations.
Guaranteed Compatibility
Everything is tested and designed to work together.
Easier Installation
Most of the difficult assembly work is already done.
Full Manufacturer Warranty
Each component retains its original manufacturer warranty coverage. For beginners and experienced builders alike, that’s a huge advantage.
Additional Components Used
Alongside the upgrade kit, we also incorporated:
Antec VX100M Case
The upgraded chassis that became the foundation of the build.
Antec 550W Power Supply
A reliable PSU capable of supporting future upgrades.
Hiksemi Wave 256GB PCIe M.2 SSD
To ensure fast boot times and improved application performance, we installed a Hiksemi Wave PCIe Gen 3 M.2 SSD.
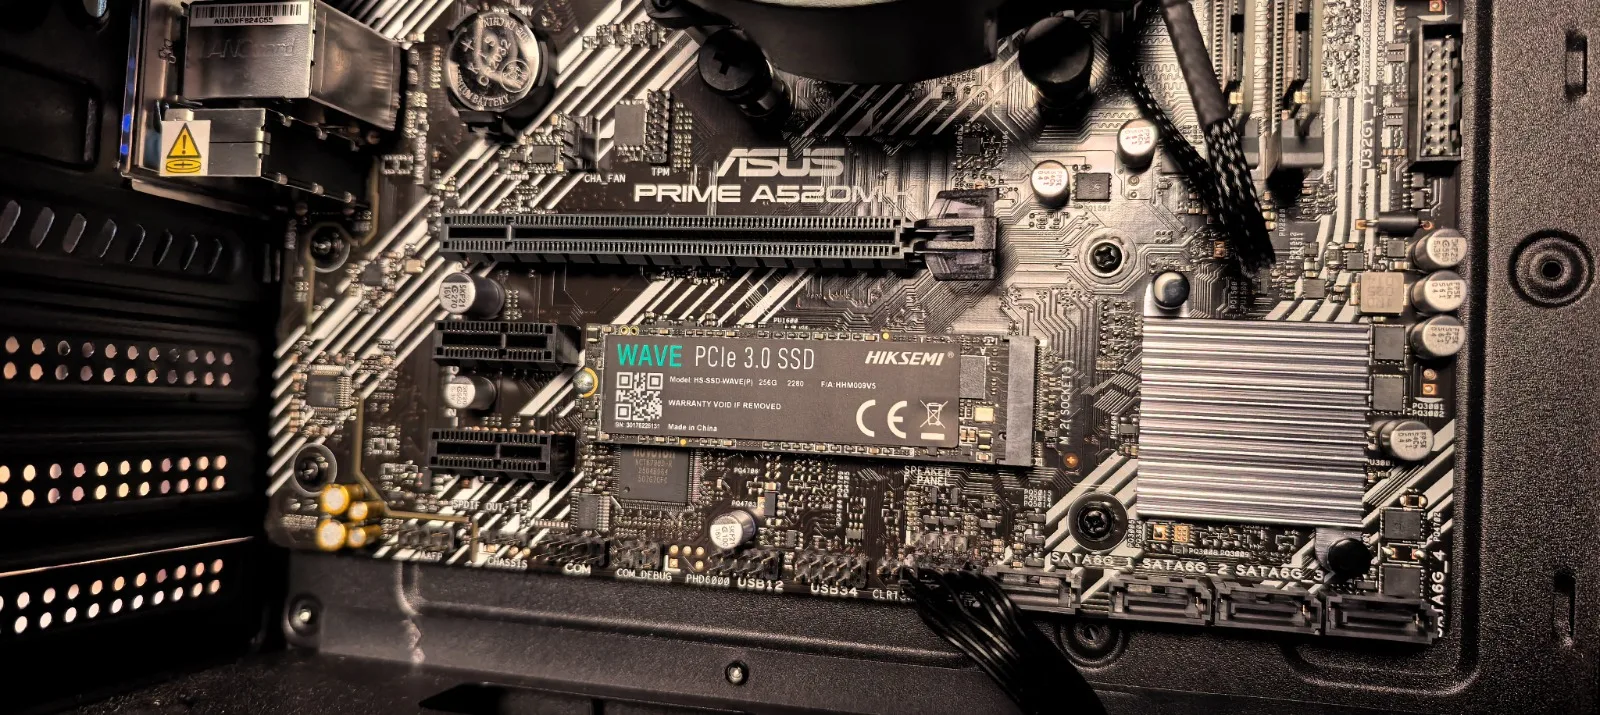
Installing the M.2 SSD
One of the easiest upgrades you can make today is moving to an M.2 SSD.
Unlike traditional SATA drives, M.2 drives:
- Install directly onto the motherboard
- Require no additional data cables
- Deliver significantly faster performance
- Improve boot and loading times
The installation process involved:
- Locating the M.2 slot on the motherboard
- Installing the M.2 standoff
- Inserting the SSD at an angle
- Securing it with the mounting screw
A quick tip: don’t overtighten PC screws. Apply just enough pressure to secure the component safely.
Installing the CPU Cooler
Since the AMD stock cooler came with pre-applied thermal paste, installation was incredibly simple. The process consisted of:
- Aligning the cooler with the mounting points
- Tightening screws in a cross pattern
- Connecting the CPU fan header
With that completed, the core hardware installation was finished.
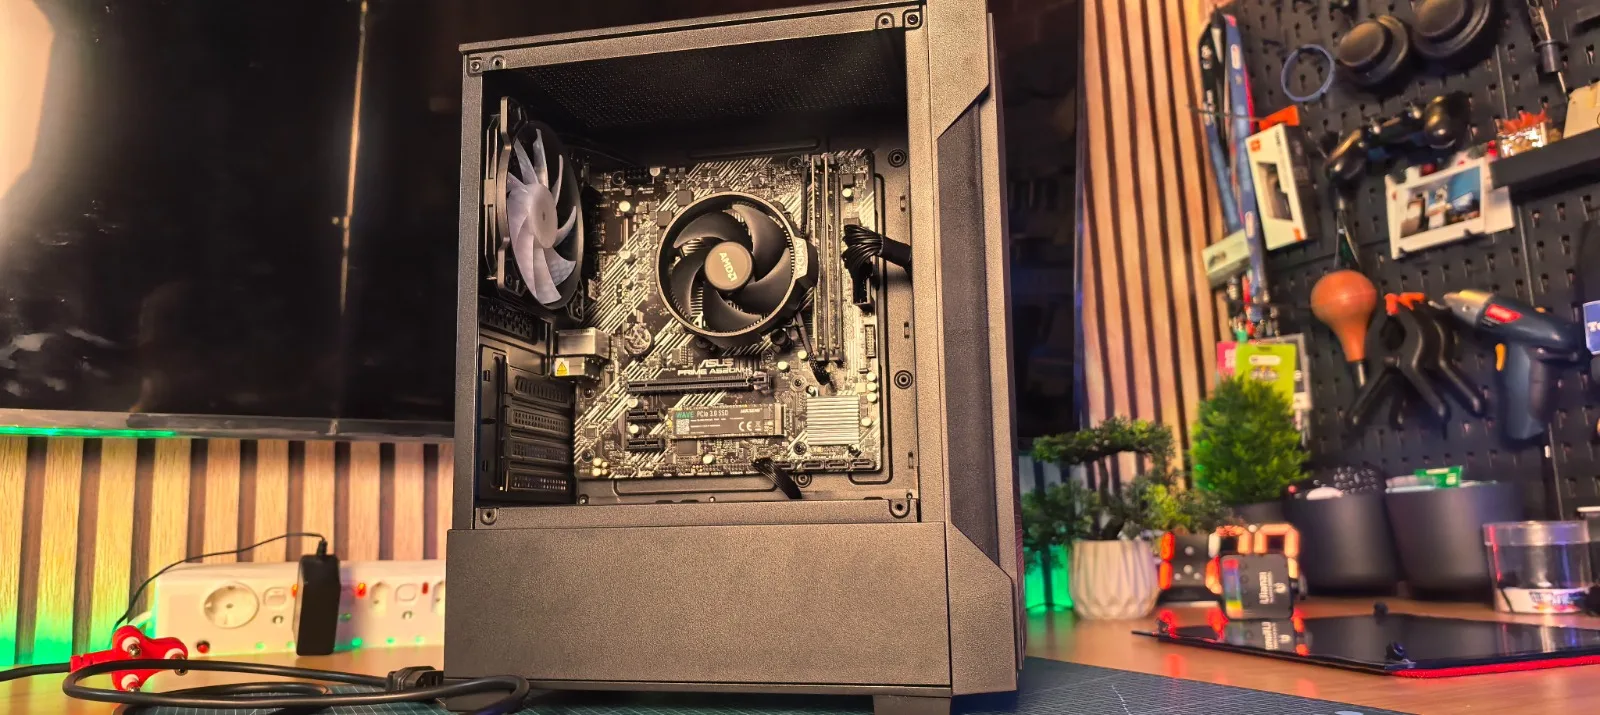
Motherboard Installation
With the CPU Cooler installed, it was time to fit the motherboard into the case. Before mounting any motherboard, always verify:
- Standoff locations match your motherboard layout
- The I/O shield is properly installed
- Cable routing won’t interfere with installation
This is actually where we made our biggest mistake. Despite reminding viewers to check standoffs and cable management beforehand, we forgot to double-check our own setup and had to make adjustments before final installation. Lesson learned: always verify everything twice.
Ryzen 5 3400G Performance Overview
The centerpiece of the upgrade is the AMD Ryzen 5 3400G.
Key Specifications
- 4 Cores
- 8 Threads
- Up to 4.2GHz Boost Clock
- Integrated Radeon Graphics
The integrated graphics are particularly useful for users who don’t need a dedicated graphics card immediately. Compared to our old second-generation Intel system, the performance difference is substantial.
Everyday Benefits
The upgrade provides:
- Faster multitasking
- Better browser performance
- Improved content creation workflows
- Smoother general productivity
- Enhanced responsiveness
Whether you’re editing videos, working with multiple applications, or managing dozens of browser tabs, the system feels significantly faster.
The Importance of Dual-Channel RAM
The kit includes 16GB of DDR4 3200MHz memory configured in dual-channel mode. This matters because dual channel positively affect Ryzen processors, where they benefit greatly from higher memory bandwidth. For modern computing, 16GB remains an excellent sweet spot for most users.
Advantages include:
- Better gaming performance
- Faster application loading
- Improved multitasking
- Increased system responsiveness
Future Upgrade Potential
One feature we particularly appreciate is the AM4 platform. The ASUS A520M motherboard provides a clear upgrade path for future Ryzen processors, allowing additional performance upgrades down the road without replacing the entire platform. This adds long-term value and helps future-proof the system.
Final Thoughts: Was the Upgrade Worth It?
Absolutely. The PCBuilder Level Up Core Upgrade Kit transformed an aging desktop into a modern, responsive machine without the complexity that traditionally comes with PC upgrades. What stood out most was how accessible and beginner-friendly the experience felt from start to finish. With the CPU already installed, the RAM pre-installed, and all component compatibility taken care of, much of the uncertainty and technical guesswork normally associated with upgrading a PC was removed. The minimal assembly required meant the process was far less intimidating than building or upgrading a system from scratch, while still delivering excellent value for money.
Even with a few minor installation mistakes along the way, the overall experience remained straightforward and surprisingly enjoyable. Rather than becoming a frustrating troubleshooting exercise, the upgrade felt smooth and rewarding. If you’re still running older hardware and looking for a hassle-free way to breathe new life into your system, a pre-configured PC upgrade kit may be one of the smartest investments you can make.